This blog is written by Enscape’s Gemma Da Silva, the Enscape Content team member proudly responsible for the Enscape Blog . Check out video tutorials to learn more useful rendering tips, the Enscape Knowledge Base for step-by-step how-to articles, and the Community Forum to connect with fellow Enscape and Vectorworks users.
.. .
When you’re up against tight deadlines, project efficiency is key. That’s why many architecture and design firms are bringing real-time 3D visualization into their daily design process.
One real-rime visualization tool that works directly within Vectorworks is Enscape, a Vectorworks Platinum Partner. Architects and designers can see their models rendered at any given moment, allowing them to make faster design decisions and easily share ideas with clients.

Let’s look at three simple ways to improve your rendering workflow with Enscape and Vectorworks.
1. Use Low-Poly, High-Res Assets
Enscape comes with its own low-poly asset library, saving you time searching online for objects to fill your scenes. The assets are lightweight, so they do not slow down your model, but when rendered, they’re displayed as high-resolution objects. It’s also possible to import your own 3D models into Enscape’s Custom Asset Library.
There are a few ways to use the Enscape Asset Library:
1. Insert assets directly into your Vectorworks model. You can access the Asset Library by clicking on the tree icon button in the Vectorworks interface.

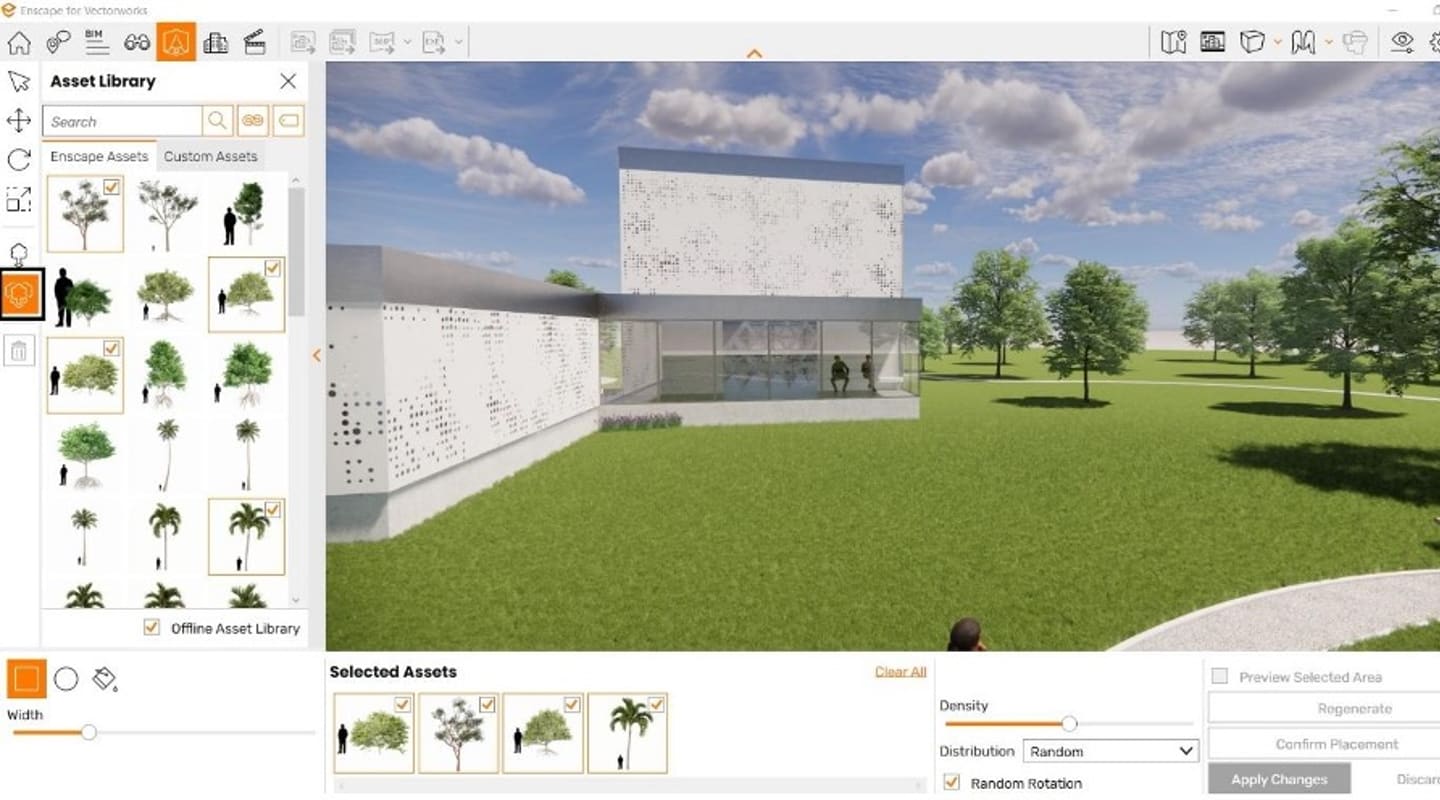
2. Place a single asset into your rendered scene via the Enscape rendering window. Once you have selected an asset, click the surface you’d like to place it on, then press “Apply Changes.” The low-poly proxy will be replaced with full geometry, textures, and a realistic-looking object.
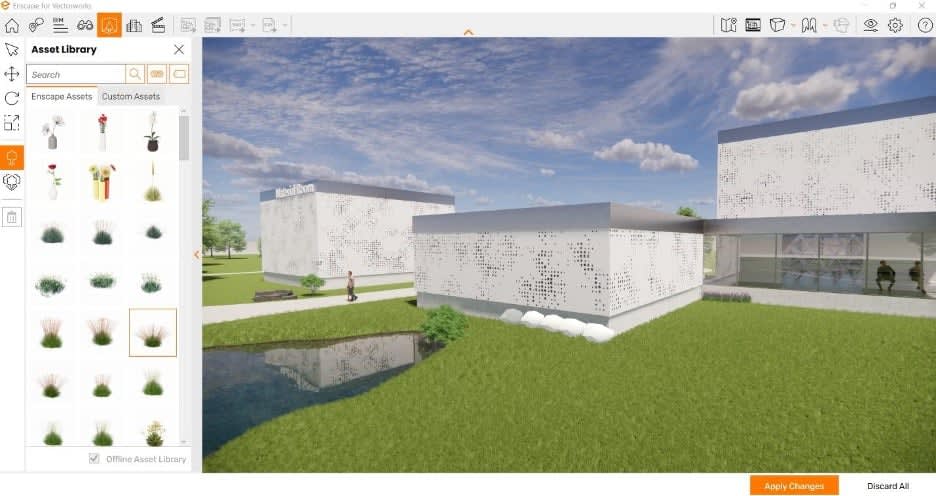
3. Move, rotate, scale, and delete an asset within the Enscape rendering window by using the transformation tools which you can find on the left-hand side of the Asset Library itself. Open the Help Menu (the question mark on the top right) and click the “Asset Library” tab for tips on how to use these.
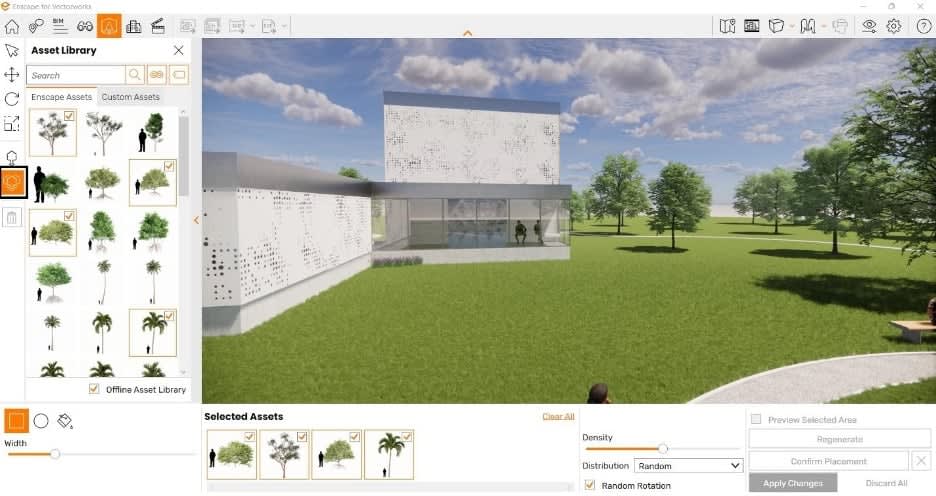
4. Place multiple assets (such as vegetation) on large surfaces quickly within the Enscape rendering window. Click the Multiple Asset Placement button in the Asset Library (towards the bottom of the icons displayed on the left). Search and select the assets you’d like to place. At the bottom of your screen, placement options will appear – including density and distribution. Remember to click “Apply Changes” to see your assets placed onto your rendered scene.
2. Explore and Test Material Options
Enscape has a built-in Material Editor and Library, providing you with a fast way to test and edit various material options. You can find these in the Enscape toolbar in your Vectorworks interface. The color swatch icon opens the Material Library, and the checkered sphere opens the Material Editor.
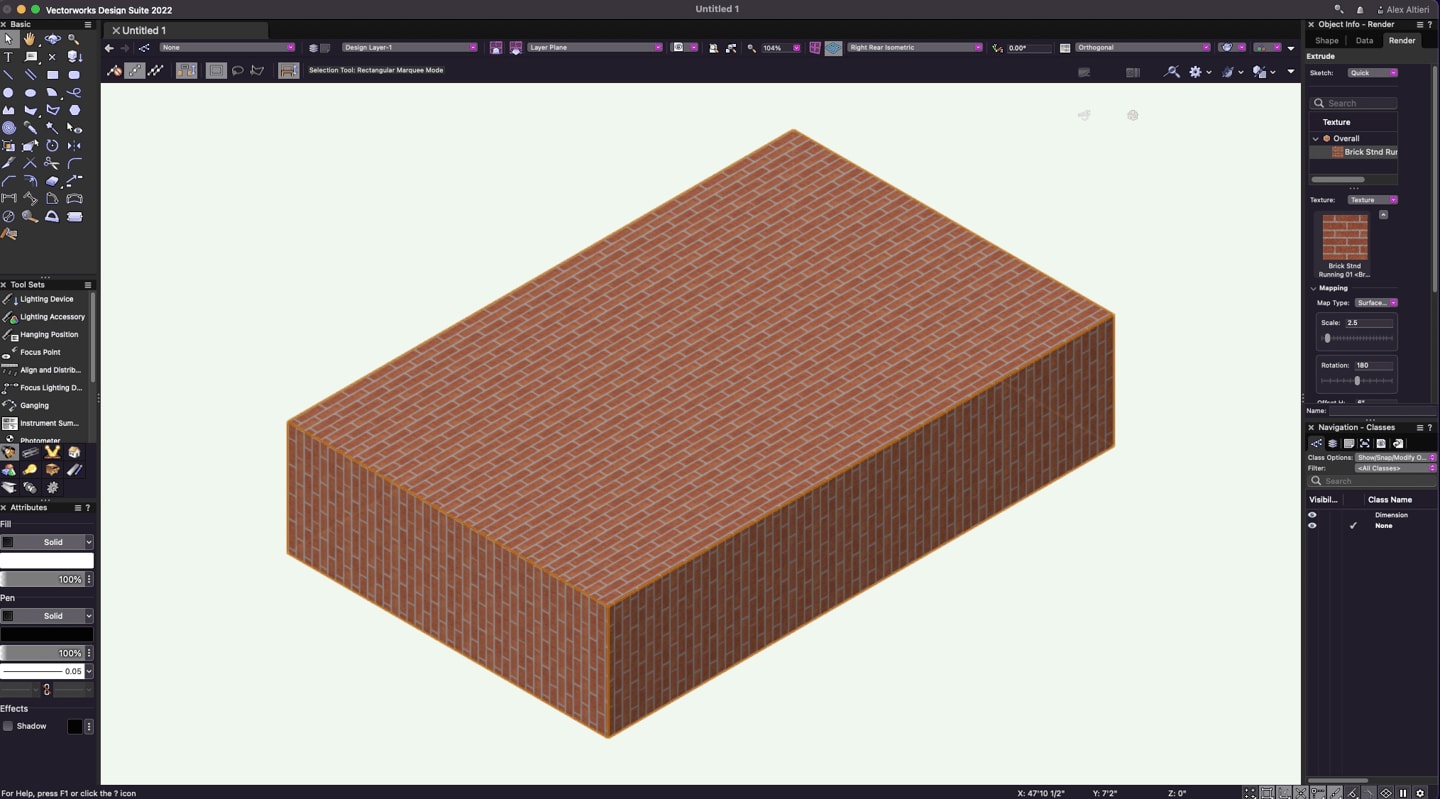
One of the best ways to improve the realism of textures in Vectorworks is to use height maps. You can apply and adjust bump, normal, and displacement maps within the Enscape Material Editor, as well as the color and reflections. You can import high-quality 3D textures from an online site such as Poliigon, which will come with their own maps, or use the pre-defined maps provided with the materials located in the Enscape Material Library.
To learn more about materials in Enscape for Vectorworks, watch this short video tutorial:
3. Adjust the Time of Day in Enscape
You may already know that the sun position can be controlled using the Heliodon tool within Vectorworks. But, if you've used Enscape assets and materials, then a third way to improve your workflow is to use Enscape to simulate lighting conditions and assess how the sun will affect a space, where shadows will fall, and find the best natural lighting for your rendered scenes.
To alter the time of day in Enscape, click “Shift,” hold down the right mouse button, and then move the mouse from left to right. You will see the sun position, lighting, and cloud coverage change and the time of day shown in the lower right-hand side of your Enscape rendering window.
You can adjust sun brightness, cloud density, and other atmosphere and sky settings in the Visual Settings tab.

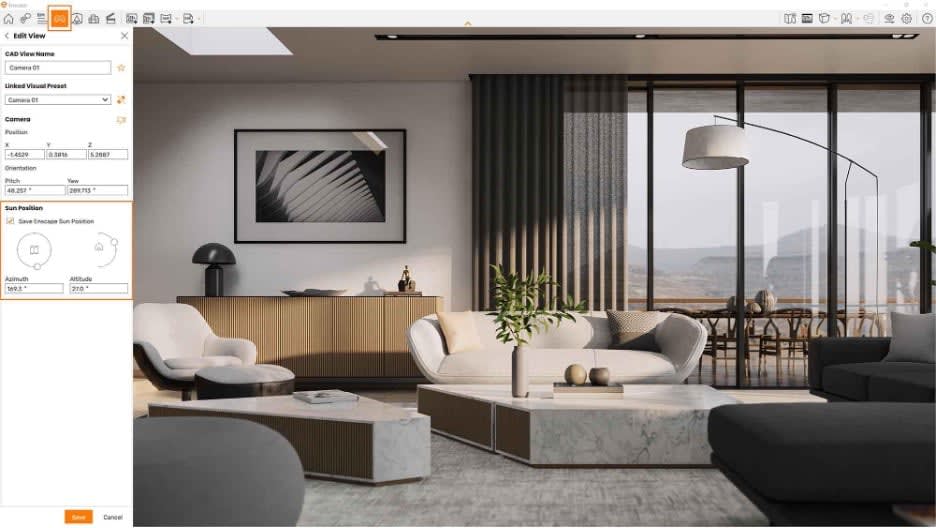
If you create a view in Enscape’s View Management tab, which is particularly handy if you want to have a selection of pre-saved views ready to show a client, you can also modify the sun and camera position here, similar to Saved Views in Vectorworks. This is now possible with the newly released Service Pack,
.
By changing the sun position and creating a series of saved views, you can clearly demonstrate the sun’s impact on your model. This is useful during sun studies and can help visually communicate the impact of the sun and its shadows to your colleagues and clients for smarter decision making.
Additional Learning for You!
These are just three ways you can improve your design and visualization process with Enscape and Vectorworks, but there are many more features that you can leverage to further refine your rendering workflow.
For a free webinar on the easy-to-use real-time rendering integration of Vectorworks and Enscape, click the button below.
Enscape UI images courtesy of Enscape.
Stay in the know with the latest insights
Subscribers receive news, customer stories, success and learning tips, event information, and other important announcements form Vectorworks.
By submitting this form, you agree that Vectorworks, Inc. and its authorized partners may contact you in regards to news, offers, and the use of our software, services, and platforms. Learn more about our privacy practices and your data on our privacy page.*